What Is a Material Mockup, and Why Should Homeowners Approve One Before Construction?
By Ximena Gontes — Architect, PlayaBuilder
A material rarely lives alone. Stone meets wood. Plaster meets light. Tile meets grout. Metal catches a reflection from the garden. A sample viewed on a desk can suggest an idea, but it cannot fully show the relationships that give a finished space its character.
A material mockup brings part of the design into the physical world before the team repeats it throughout the building. It is one of the most practical tools for protecting an architectural vision because it lets the homeowner, architect, and builder evaluate the same real object rather than three slightly different mental pictures.
A sample is an ingredient; a mockup is the recipe
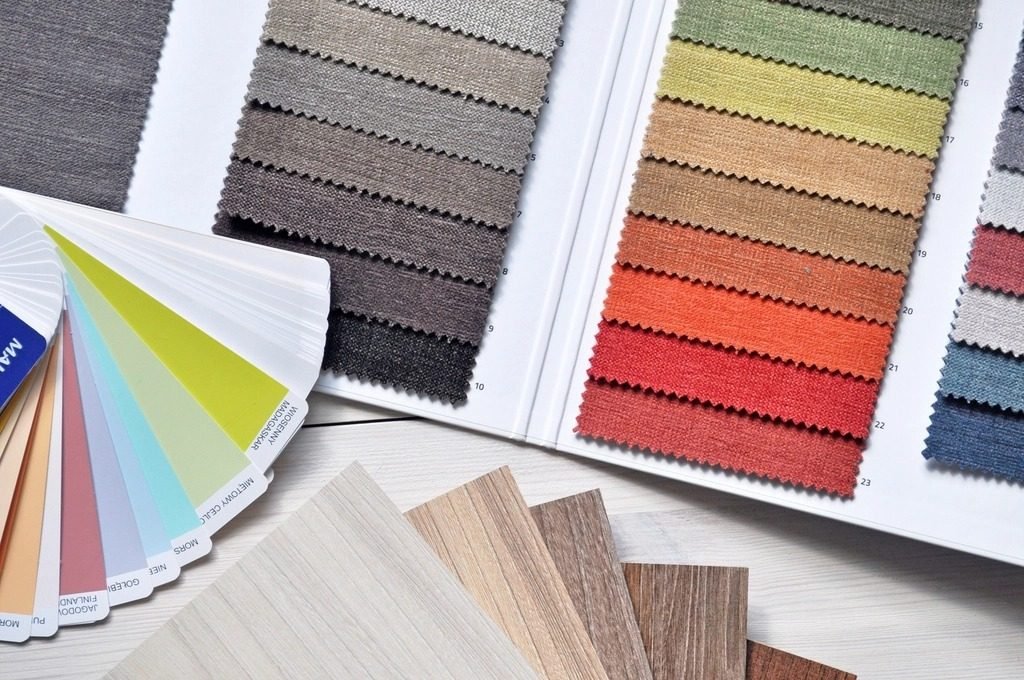
A small tile sample can communicate color and texture. A mockup of the installed tile can reveal grout width, alignment, edge detail, substrate preparation, and interaction with adjacent materials. A wall-finish panel can expose variations in technique and appearance under the actual lighting. A façade mockup may show how sealant, frame, finish, and shading elements meet.
The scope of the mockup should follow the importance and repetition of the detail. It may be a compact sample board, a full-size bathroom corner, a cabinet-door assembly, or a portion of an exterior wall. The purpose is to answer specific questions before an expensive decision becomes widespread.
Light changes material decisions
A surface viewed in a showroom under controlled lighting may look very different next to a Riviera Maya window at midday. Gloss reveals reflections; textured finishes cast tiny shadows; natural materials can show variation that changes with scale. Photography is useful for communication but may not faithfully capture all these characteristics.
Whenever possible, assess the mockup in the intended lighting conditions, or simulate those conditions carefully. Compare materials together rather than in isolation. A beautiful individual finish can feel wrong when placed beside its neighbors, and a modest finish can become remarkable through thoughtful composition.
Mockups can expose buildability problems
An architect might specify a perfectly narrow joint or a crisp intersection between different materials. On paper this is easy to draw. In the field, tolerances, substrate variation, material movement, tools, and installation sequence affect the result. Building one representative detail allows the team to test whether the intended appearance can be achieved consistently.
Technical mockups do not replace formal testing or code-required inspections. They complement them by assessing workmanship, coordination, and visual intent. Acceptance criteria should be written clearly enough that everyone can understand why a mockup is approved or needs revision.
Remote approval needs more than a photograph
For an owner abroad, it can be tempting to approve a finish from a single image sent by phone. A useful remote package includes scale references, daylight and artificial-light views when relevant, close-ups of edges and joints, material identifiers, and written notes on what is being approved. Video can help reveal changing reflectance or texture, but displays still differ in color reproduction.
For expensive or especially subjective selections, sending a physical sample or arranging an in-person review may be worthwhile. If approval is provisional, label it as provisional. A clear record protects both the owner and the construction team.
Keep the approved reference available during installation
A mockup has little value if it is dismantled, forgotten, or contradicted by later informal changes. Document the accepted sample, identify the approved materials and tolerances, and retain a physical reference when practical. The installation team should be able to compare the actual work with the standard everyone agreed upon.
One modest mockup can prevent a much larger disappointment. More importantly, it creates a moment when design, workmanship, and client expectations meet before the whole room is finished.
Mockup review
Select the details whose appearance or workmanship will have the greatest visual effect. Agree what a satisfactory mockup must demonstrate, review it in realistic conditions, and record the approved reference. A mockup should resolve questions before the finish is repeated.
Questions to discuss with your design team
- What exactly is being approved?
- Is the mockup full-size?
- Were actual lighting conditions considered?
- Are joints and edges represented?
- How will the reference be used during installation?
A hypothetical example: an exterior stone wall
Imagine choosing a textured natural stone for a prominent courtyard wall. The sample has beautiful color variation, and the rendering shows uninterrupted horizontal lines. A mockup may reveal that individual pieces differ significantly in thickness, creating stronger shadows and uneven joints than the image suggested. That variation might enhance the design—or it might interfere with the intended simplicity.
By assembling a representative section, the architect and installer can evaluate sorting, orientation, joint width, edge treatment, and lighting. The owner can decide whether to celebrate the material's irregularity or select a different approach. The important thing is that the choice is made before the entire wall is installed.
What an approval record should contain
A useful approval record identifies the exact material, finish, supplier where relevant, installation pattern, grout or joint treatment, edge details, and date of review. Photographs should include a scale reference and views of the larger assembly. If the mockup is approved subject to modifications, those modifications must be specified rather than assumed.
The record should also distinguish visual approval from structural, waterproofing, or other technical testing. A finish can look correct while requiring additional verification for a particular application. A good mockup process protects the beauty of the idea precisely because it refuses to confuse appearance with performance.
Give the mockup a question to answer
A mockup is only useful when everyone agrees on what is being evaluated. Is the concern color variation, surface texture, joint width, water resistance, ease of cleaning, or the appearance of an intersection? A single mockup may answer several questions, but each needs an appropriate method. A visual review cannot establish structural performance; a technical test cannot fully communicate whether the finish feels right beside a warm timber ceiling.
The material conversation should also include what cannot be controlled perfectly. Natural stone may contain tonal variation. Hand-applied plaster may show differences among areas and installers. Wood and other materials respond to their environment. Architecture is richer when the client understands these characteristics before approval and chooses them intentionally, rather than discovering them as apparent defects later.
Make the test resemble the finished room
A perfectly flat sample leaning against a white wall can be charming, but it tells us little about how the material behaves at a corner, beneath a handrail, or beside a window. For a significant finish, I would choose a representative location and ask what the mockup needs to reveal. Should it include the grout width, edge trim, joint pattern, adjacent paint, or a transition to timber? If the purpose is to assess water movement or durability, the appropriate technical specialists need to define a separate test procedure. The visual mockup and the performance test answer different questions.
Imagine selecting a textured tile for a hypothetical covered outdoor terrace. A small swatch may make the color look wonderfully natural. Once several tiles are laid together, the pattern may seem too busy, the edge treatment may become conspicuous, and the texture may feel different underfoot. A representative assembly makes that discovery early. It also helps the construction team understand what has actually been approved, including alignment, joint appearance, and any intentional variation.
Photograph the sample, but keep the sample
For homeowners approving designs from abroad, photographs and short videos are useful records. I would ask for a consistent view in daylight, a second view with the nearby materials, and a close-up of the joint or finish under discussion. A scale reference helps the owner judge texture and proportion. Photographs still depend on the camera and screen, so a critical decision may justify shipping a physical sample or scheduling an in-person review. The team should also identify whether a particular product batch may vary in color or pattern.
After approval, I would label the physical reference with the material identification, finish, date, and approved detail. Then I would keep a photograph of that labeled reference with the drawings and selection schedule. During installation, a future discussion can begin with an actual agreed standard instead of a memory of what the sample looked like. This sort of discipline allows expressive material combinations to survive the translation from a beautiful concept into many repeated pieces of real construction.
Final perspective
A mockup is where an architectural idea stops being theoretical and asks a simple question: does this truly look, feel, and work the way we intended?
About the author
Ximena Gontes is an architect at PlayaBuilder. Her professional background includes architectural design, project management, construction supervision, and residential project delivery. She studied architecture at Universidad Autónoma del Estado de Morelos and completed additional studies in architectural design and project management, including a UNAM diploma. Her work connects design imagination with the practical decisions required to build in the Riviera Maya.